Client Request: Product and Stationery Design
My Approach
Understanding the provided materials is most essential, as we want to be efficient with our time, and have the strongest, and most up-to-date files, assets, and materials for reference and utilization.
Specifically, we're looking for the following:
- Any pre-existing branding elements (logo, style guide, brand specifics, colors, fonts, etc)
- Shared templates, custom setup files, ink, registration, etc.
- Any pre-existing branding elements (logo, style guide, brand specifics, colors, fonts, etc)
- Shared templates, custom setup files, ink, registration, etc.
Since I had already previously created the client's brand identity system, it was most convenient to recall those files.
Art Production
For this project, I used the client's pre-existing color swatch and designated fonts and imported the components into Adobe Illustrator, where I was able to begin preparing the packaging art for this request:
• Utilizing design software (such as Adobe Illustrator and Photoshop), we can create and refine the design.
• Understanding CMYK and RGB color processing is crucial, as we need to ensure the proof (and final, physical product) matches what we're seeing digitally, on-screen.
• Utilizing design software (such as Adobe Illustrator and Photoshop), we can create and refine the design.
• Understanding CMYK and RGB color processing is crucial, as we need to ensure the proof (and final, physical product) matches what we're seeing digitally, on-screen.
Editing & Preflight
Before finalizing anything, we want to make sure all artwork is crisp, clean, free of any errors (including spelling, floating files, or brand-specific inconsistencies).
It's also very important to collaborate with others in a committee-based approach, seeking second opinions and editing the design as necessary.
(Key emphasis is placed on having another set of eyes and logic to apply towards finding any room for improvement before finalization).
(Key emphasis is placed on having another set of eyes and logic to apply towards finding any room for improvement before finalization).
Below, I was able to ensure the following:
1. Place all existing design elements into a master template (provided by a verified source), ensuring all ink and colors are properly matched, branding style is consistent, and all design elements are placed properly within the allocated margins.
2. Ensure the mockup art has been seen by others, allowing for ample time on any necessary revisions or additional requests.
Editorial Placement (Mockups)
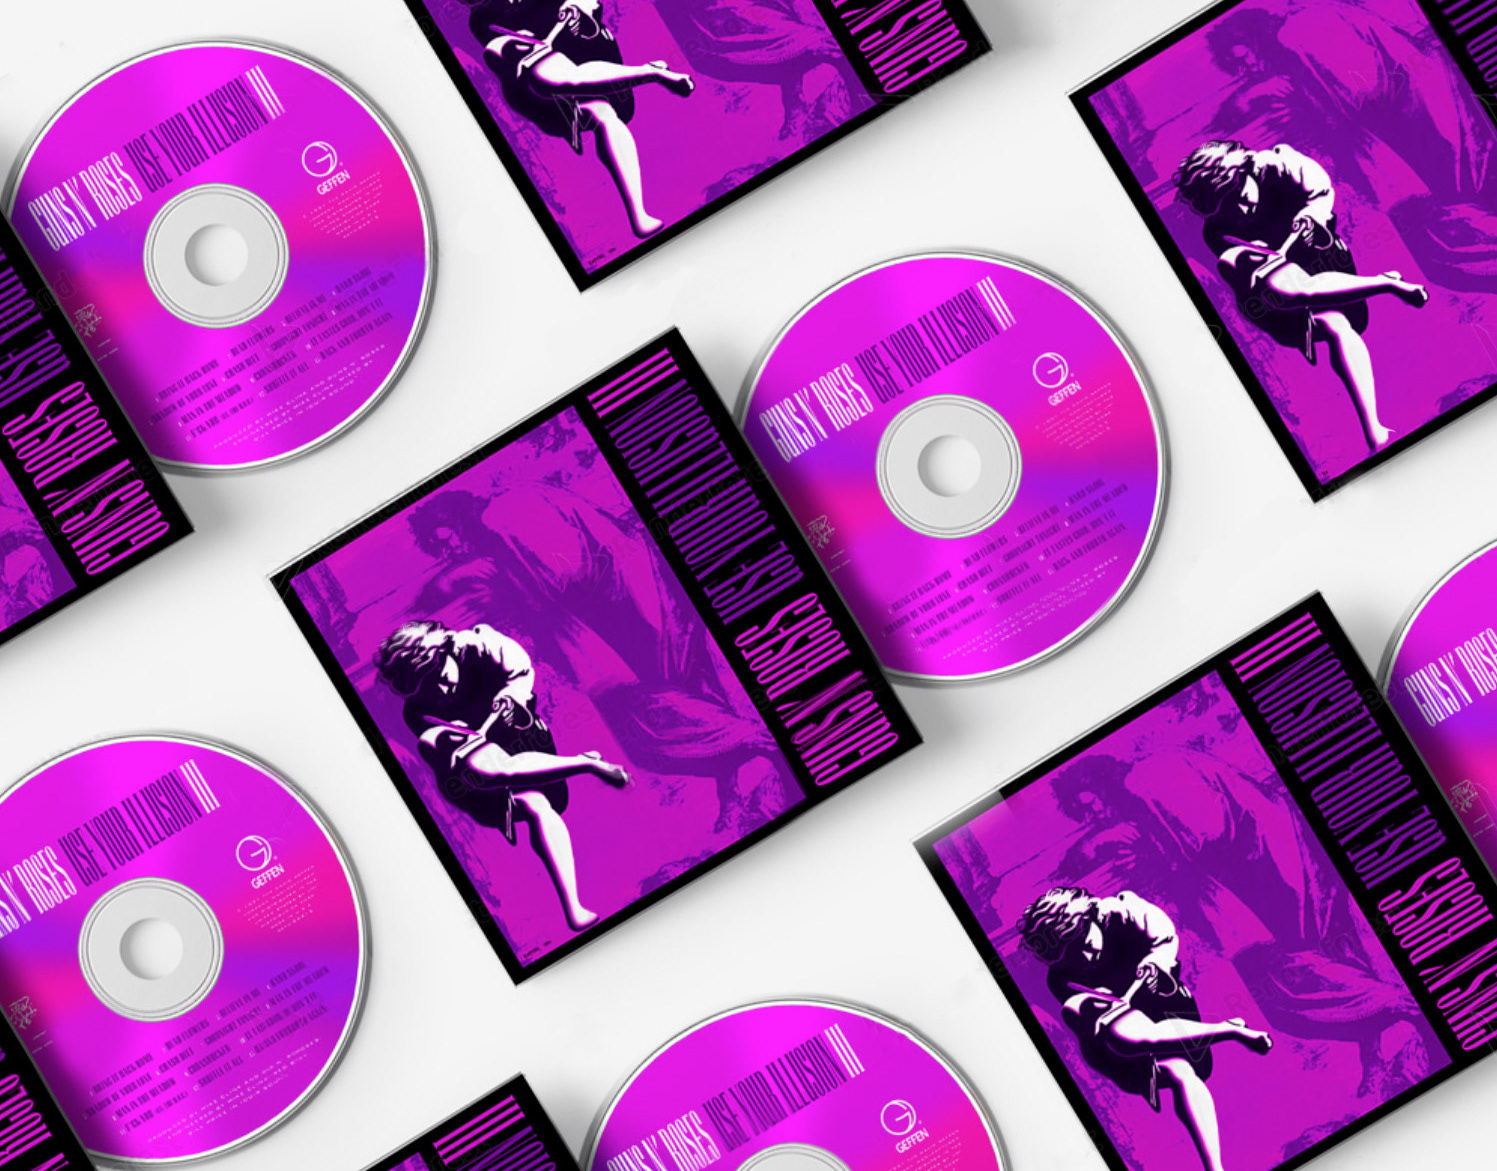
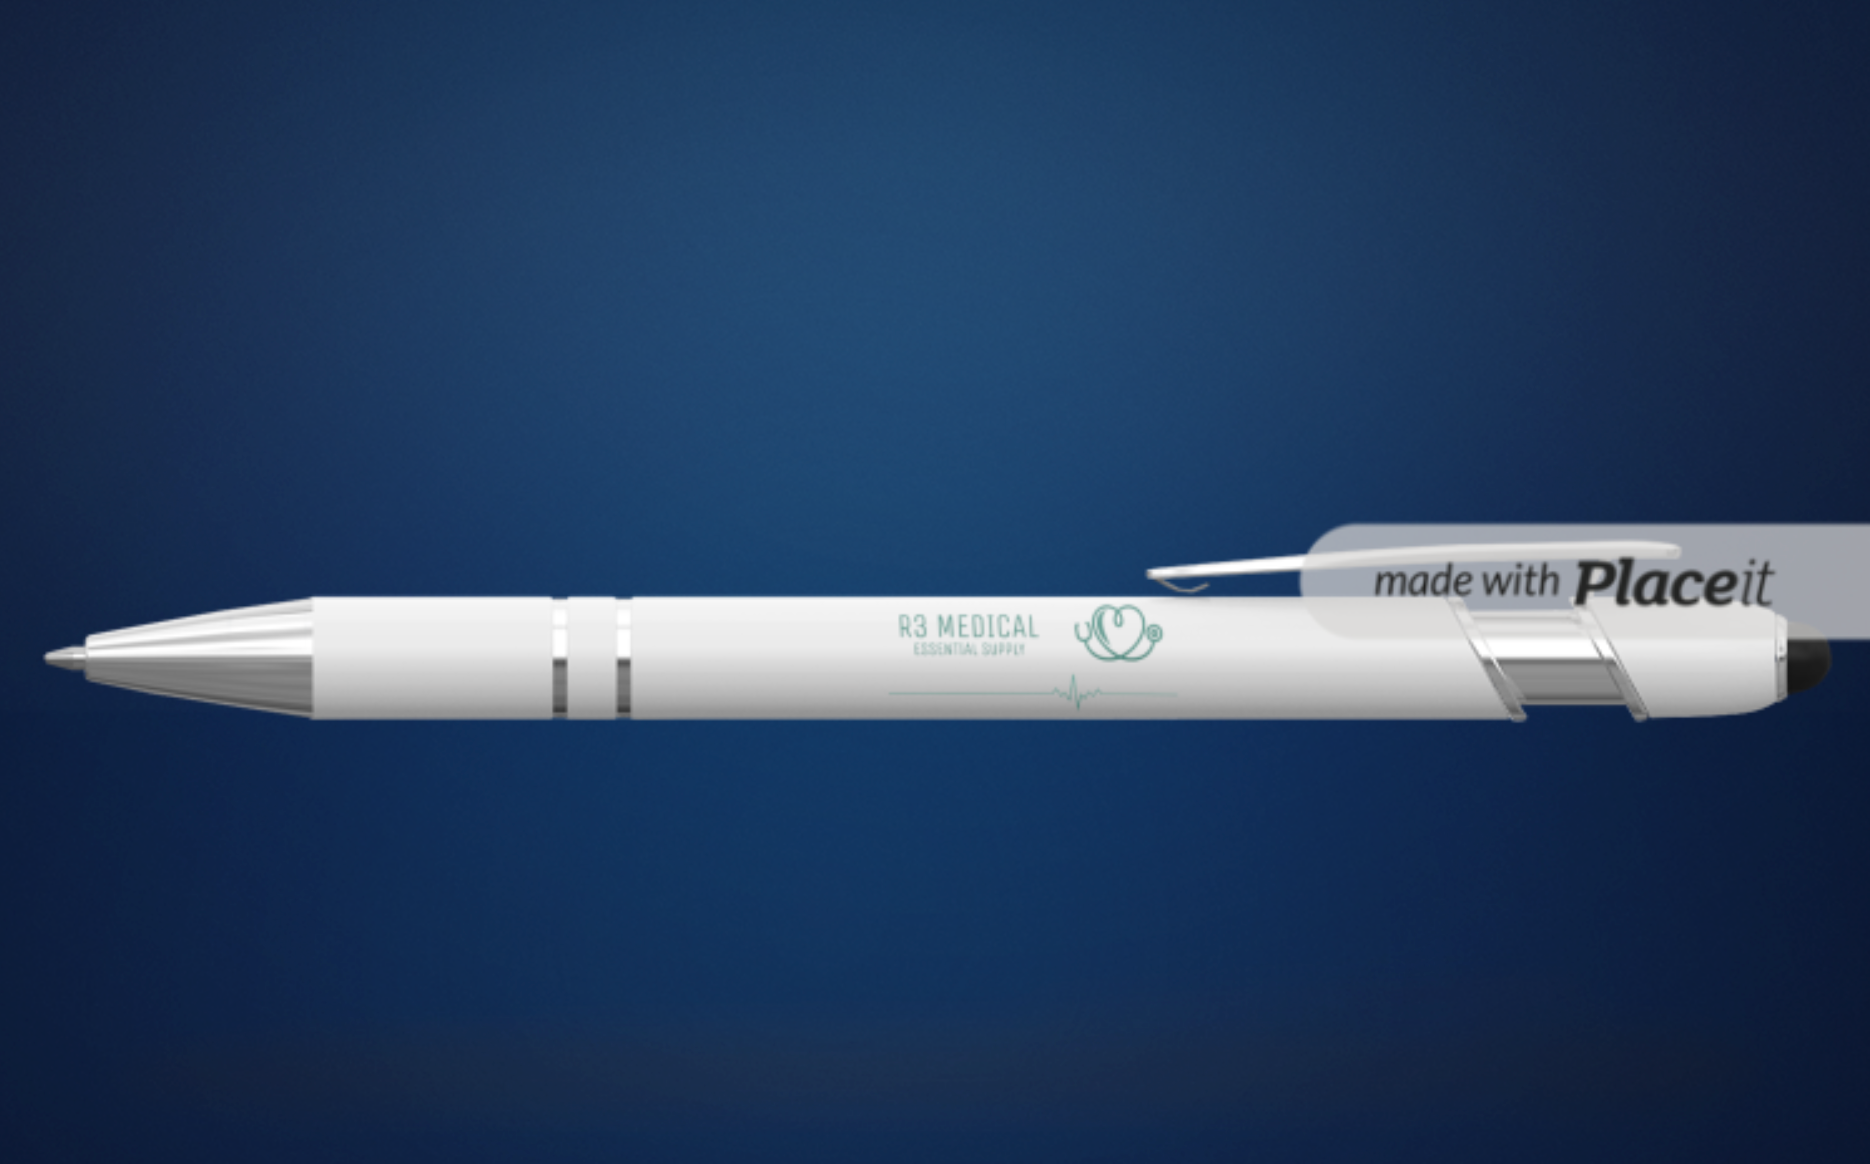
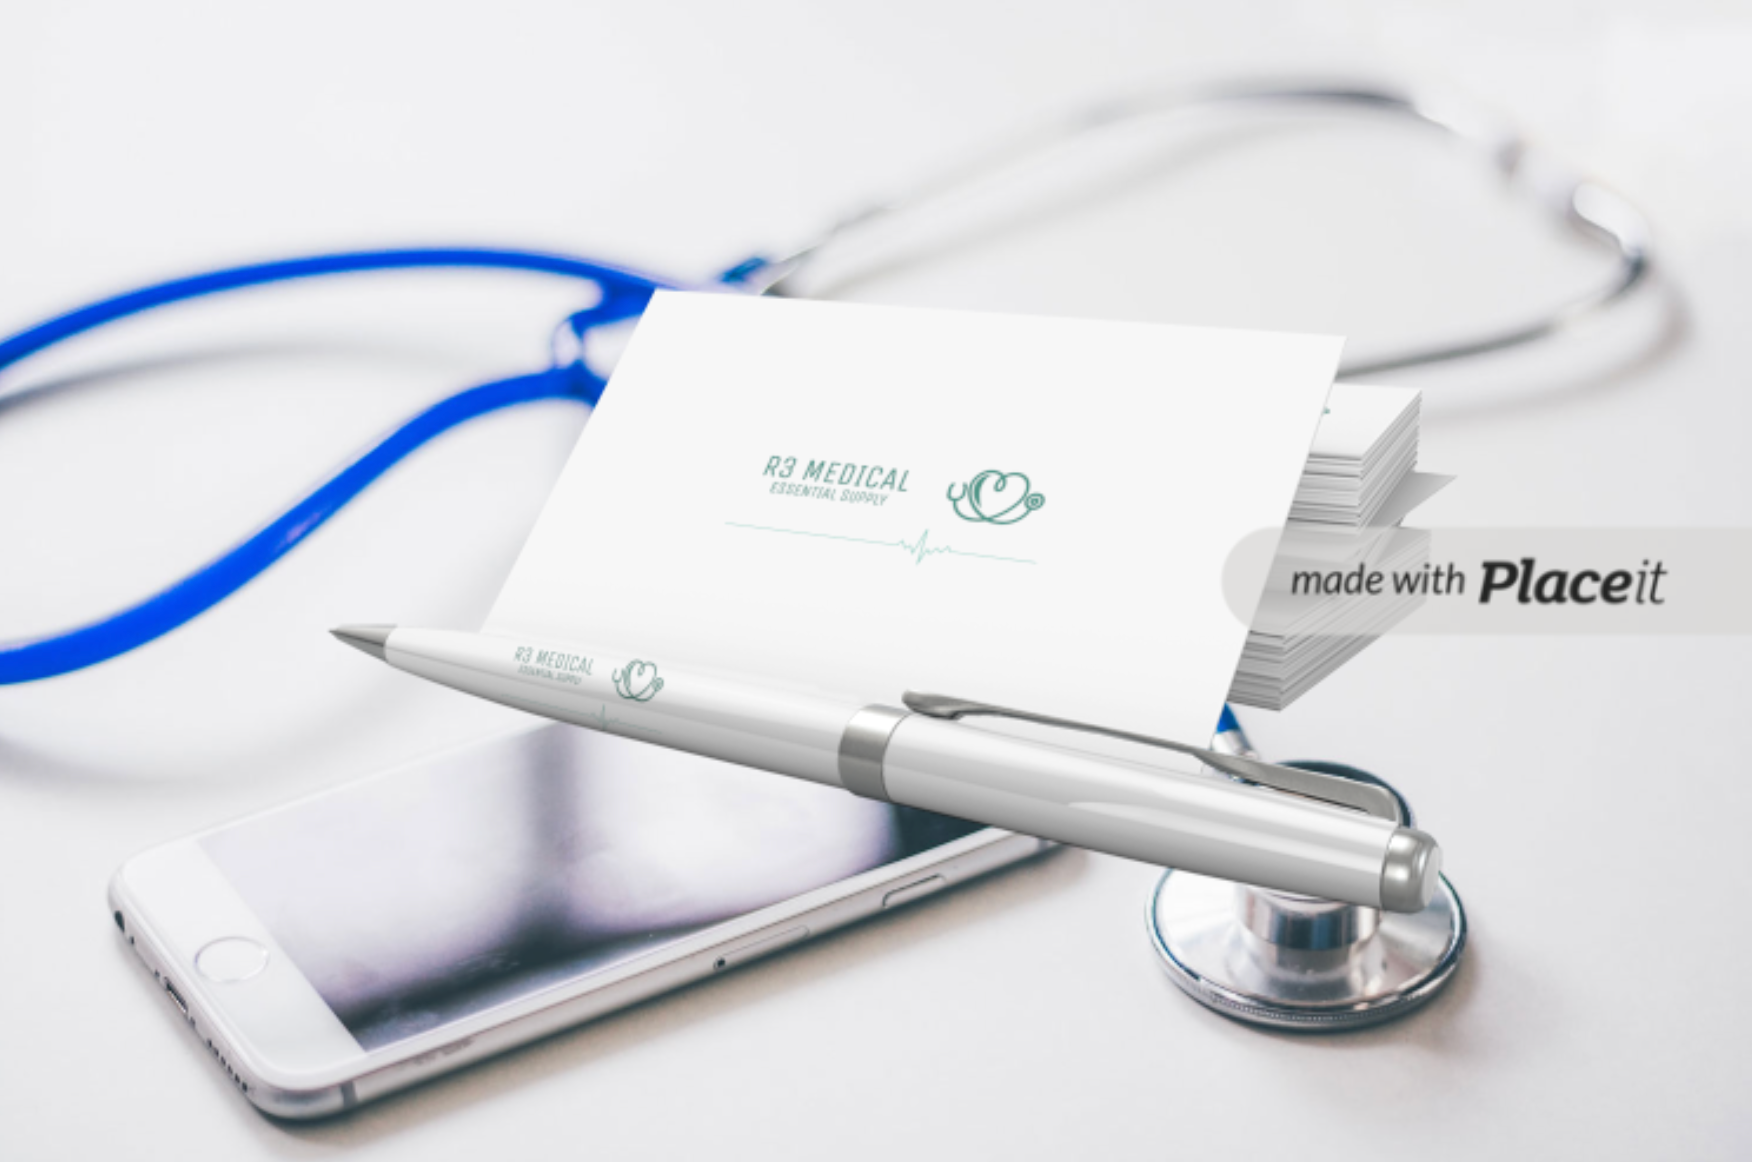
I like to create mockups and editorial-style images to help clients envision the final product and understand how it will look in various settings.
If the budget allows, you may also have someone photograph any prototypes. It's also possible to dig deeper into design software to create even more custom renderings. As always, it's great to manage your time efficiently to ensure all print deadlines are met.
For this example, I used a free third-party generator to save time, and ensure the clients vision and overall confidence on the project remained prominent.
Conclusion:
The client loved the mockups and proceeded with the order.
By following these essential steps, I created effective and visually stunning package designs that met the needs of my client, and best-communicate their brand message in a compelling way.
